Introduction
WordPress is a super popular tool for making websites. Lots of bloggers, freelancers, and small business owners use it. It’s way easier and faster than starting from scratch with fancy coding stuff like HTML. With WordPress, you can change how your website looks and works in many cool ways. There are these things called themes and plugins that let you do all sorts of stuff. In this guide, we’ll show you how to make your own WordPress website, step by step. We’ll cover everything from getting your own web address to getting your site online. We’ll even use this cool thing called Elementor to make your website look extra awesome.
What is WordPress?
What is WordPress
Way back in the 1990s, WordPress began as a place for people to write blogs. But now, it’s grown into something amazing! Think of it like a magical toolbox for building websites. You can create all sorts of sites with it, like places where people can join, chat forums, places to learn new things, and even shops to sell stuff online. It’s super easy to use and has tons of different designs and add-ons you can pick from. Whether you’re just starting out or you’re already a pro at websites, WordPress is perfect for making your own spot on the internet. Whether you want to sell things, write your thoughts in a blog, or showcase your business, WordPress is the way to go!
Certainly! Here’s a corrected version of the title:
What Are the Requirements When Starting a Website in WordPress?
When you decide to make a new website using WordPress, there are some important things you’ll need to do. Firstly, you’ll need to choose a special web address, like elyspace.com!. This is how people will find your site on the internet.
Next, you’ll need a place to store all the files and information that make up your website. This is called web hosting. It’s like renting a space on the internet where your website can live.
Lastly, you’ll need to think about how you want your website to be organized. This means deciding what pages you want, like a home page, an about page, and a contact page. You’ll also need to think about what content will go on each page.
These steps are important to get your website started and make it successful.
Step One: Buy a Domain
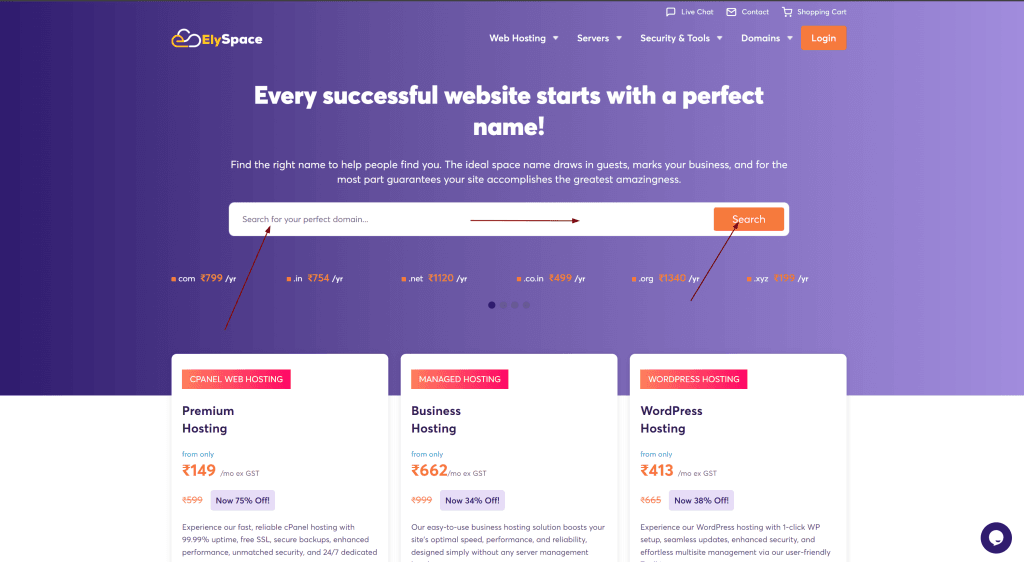
First, pick the perfect name for your website before you think about where it will live or what it will be about. Your website name should represent your brand well, so do some research to find the best one for your business. We suggest buying your website name from a trusted place like Namecheap. They’re known for being reliable, and they offer a service called domain name registration. This means they help you pick and manage your website’s name. They also have a tool to help you find the perfect name from different options, and they offer competitive prices.
Think about what kind of website name you want, like elyspace.com or something else. Most people go for.com because it’s well-known and trusted. The type of website name you choose is important for a few reasons, including helping your website show up in search engines.
Once you’ve decided on your website’s name, you need to buy it. It’s not hard to do, and it’s a really important first step. But it’s a good idea to buy your website name separately from where you host your website. This makes things easier if you ever decide to change where your website lives. So, keep your website name and hosting separate to have more control over your website.
If you need a website name example, mine is elyspce.com.
Step Two: Choose a hosting plan with Elementor Ready installation
Another important step is getting a WordPress hosting plan for your website. Before you decide, it’s good to know a few things. First, learn about the different types of hosting available to see which one suits you best. Then, pick the host that fits your needs and budget. A good host will make sure your website stays online at least 99% of the time and take care of security updates. They might also give you free stuff like SSL, emails, backups, and tools to help keep your site safe.
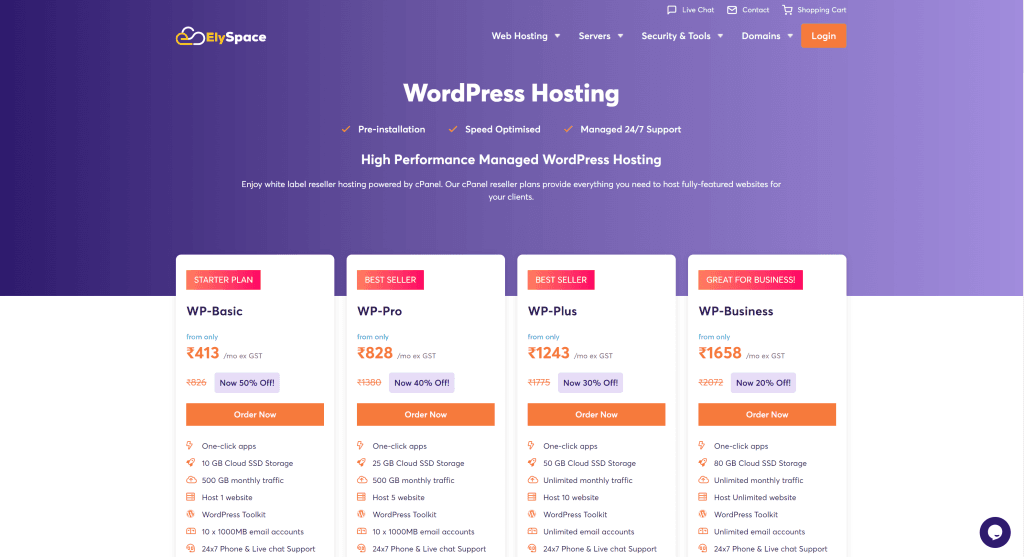
A really good option is ElySpace They specialize in WordPress and offer great support and prices. If you’re new to all this, their StartUp plan is a good place to start. For under $15 a month, you get 10 GB of storage, plus freebies like SSL, CDN, business email, and a free domain. And here’s a bonus: it’s one of the fastest WordPress hosting options out there.
ElySpace is also a proud partner of Elementor, which is a tool for building websites. With their hosting plans, Elementor is ready to go. You don’t need to worry about setting it up because it’s already done for you. So you can jump right into building your website without any hassle. ElySpace is also set up specifically to work well with Elementor, so everything runs smoothly.
Step Three: Installing WordPress
To begin crafting your masterpiece, you’ll need to install WordPress. There are a few ways to do this. If you’ve chosen a VPS or dedicated hosting provider, you’ll likely have to install WordPress manually. However, if you’ve opted for a managed hosting company like ElySpace, the process is much simpler. With ElySpace, you can install WordPress with just a few clicks. That’s the method we’ll be using in this guide. Once you’ve set up your account, you’ll be directed to your account dashboard. From there, simply click the “Start New Website” button to install WordPress. If you’re interested in other methods of installing WordPress, you can check out our detailed post, “How to Install WordPress.”. ElySpace makes it easy to get WordPress up and running smoothly.
Next, decide if you want to install WordPress on a brand-new domain, an existing one, or a temporary one. We’ll use a temporary domain to create and perfect our site before making it live.
When the screen changes, you’ll see that a temporary domain has been given to your website. Just click the “continue” button to move forward.
Next, click to start a new website
Then, choose WordPress as the application
For the installation, type in your email address, create a password (or use a strong one), and then click continue. Remember to save your login details because you’ll use them to log into your WordPress admin dashboard.
Press the “Finish” button to install WordPress.
After your screen updates, you’ll see three choices: check out your site in a browser, sign in to the WordPress admin panel, or go to ElySpace’s site tools dashboard. Click the “login admin” button to go to the admin panel.
How to create a WordPress website with Elementor
When you’re starting to make a WordPress website with Elementor, there are many steps to follow. From putting WordPress on your site to making it live, we’re here to guide you through each one, so you have a good chance of doing it right.