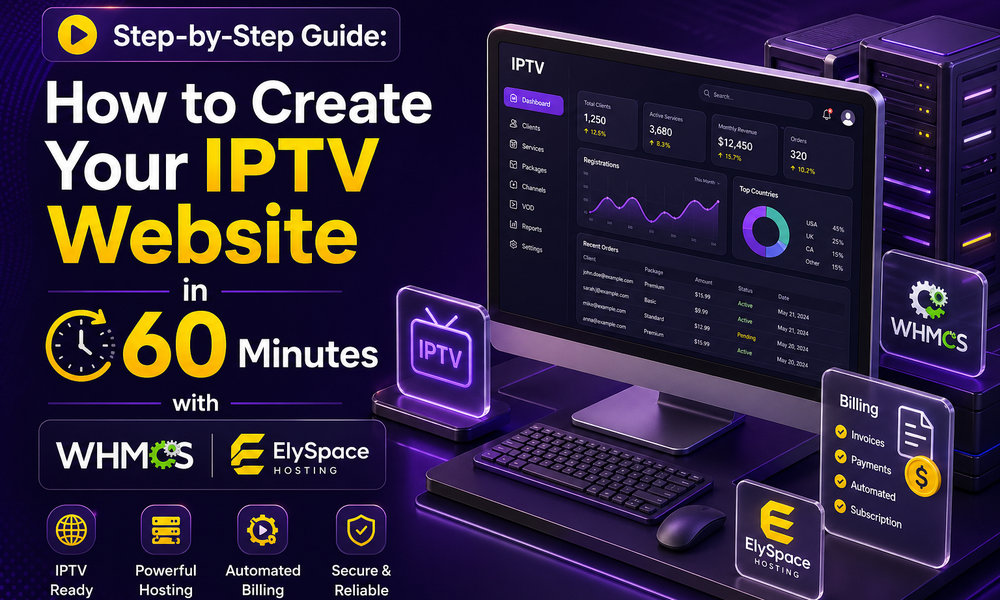
Are you excited to boost your IPTV business? Great news! You’re in the right spot. We’ve crafted a simple guide to help you set up your IPTV website quickly, using WHMCS and ElySpace Hosting. Forget the headache of complex setups. With our guide, you’ll have your IPTV platform ready to go in just 60 minutes. Let’s jump in and start building your IPTV website today!
Introduction to IPTV and its Growing Popularity
IPTV, or Internet Protocol Television, is a technology that allows users to stream television content over the Internet rather than through traditional cable or satellite services. This innovative form of media delivery has been gaining popularity in recent years, as it offers numerous advantages over traditional TV.
One of the main reasons for the growing popularity of IPTV is its convenience. With traditional TV services, viewers are limited by scheduled programming and have to wait for their favorite shows to air at specific times. However, with IPTV, users have access to a vast library of on-demand content anytime they want. This means they can watch their favorite shows and movies whenever it’s convenient for them.
Another factor contributing to the rise of IPTV is its cost-effectiveness. Traditional TV services often come with expensive monthly subscription fees and additional charges for premium channels and equipment rentals. In contrast, most IPTV services offer more affordable packages with customizable channel options, allowing users to only pay for what they need.
Moreover, IPTV provides a better viewing experience as compared to traditional TV services due to its high-quality streaming capabilities. With improving internet speeds and advanced video compression technologies used by most IPTV providers, users can enjoy HD or even 4K resolution content without any interruptions or lags.
Additionally, the availability of diverse content from around the world is another major advantage of IPTV. Unlike traditional TV services that are limited by geographical regions and languages, IPTV offers a vast selection of international channels and programs that cater to various audiences’ interests.
In recent years, there has also been a significant increase in cord-cutting – people canceling their cable subscriptions in favor of streaming options such as IPTV. This trend has further fueled the growth of this industry as more people turn towards alternative ways of consuming media.
As the demand for IPTV continues to grow rapidly globally, many entrepreneurs are taking advantage of this opportunity by launching their own IPTV businesses. With the right tools and resources, creating an IPTV website has become easier than ever, making it a lucrative business venture for many.
In the following sections of this guide, we will take you through the step-by-step process of creating your own IPTV website using WHMCS and ElySpace Hosting. With these powerful tools at your disposal, you can kickstart your IPTV business in just minutes and tap into the expanding market of online streaming services.
Understanding the basics of WHMCS and ElySpace hosting
WHMCS (Web Host Manager Complete Solution) is a highly popular and widely used client management, billing, and support platform specifically designed for web hosting businesses. It offers various features such as automated billing, account provisioning, domain registration management, and more. ElySpace, on the other hand, is a top-rated hosting provider that specializes in providing optimized servers for WHMCS.
Together, these two powerful tools can help you create your own IPTV website in just a few minutes. But before we dive into the step-by-step guide to setting up your website with WHMCS and ElySpace hosting, it’s important to have a good understanding of their basics.
Firstly, let’s take a closer look at what WHMCS has to offer. As mentioned earlier, it is a comprehensive solution for managing all aspects of your web hosting business. Whether you are selling shared hosting reseller packages or even virtual private servers (VPS), WHMCS can handle it all with ease. It also supports multiple payment gateways and offers customizable invoice templates to make the billing process hassle-free for both you and your clients.
Additionally, WHMCS comes equipped with an integrated support ticket system that allows you to efficiently manage customer inquiries and resolve any issues they may have. This feature can significantly improve customer satisfaction and retention rates.
Moving on to ElySpace hosting – this specialized hosting provider offers high-performance servers that are optimized specifically for running WHMCS smoothly. They also offer 24/7 technical support to ensure that your website remains up and running at all times without any disruptions.
Furthermore, ElySpace provides automatic backups and server monitoring services to keep your data safe and secure. With their affordable plans starting at just $5 per month, they are an ideal choice for anyone looking to start an IPTV website using WHMCS.
To sum it up, understanding the basics of both WHMCS and ElySpace hosting is crucial for creating a successful IPTV website. With features such as automated billing, domain management, integrated support, high-performance servers, and reliable technical support, these two tools are essential for any web hosting business. In the next section of this guide, we will walk you through the step-by-step process of setting up your own IPTV website with WHMCS and ElySpace hosting – so stay tuned!
Step 1: Setting up your ElySpace hosting account
Setting up your ElySpace hosting account is the first and most crucial step in creating your own IPTV website. Without a proper hosting account, you will not be able to launch your website and provide services to your customers.

To get started, visit the ElySpace website and click on the “Sign Up” button. You will then be prompted to choose a hosting plan that best suits your needs and budget. ElySpace offers various plans ranging from basic shared hosting to more advanced dedicated servers.
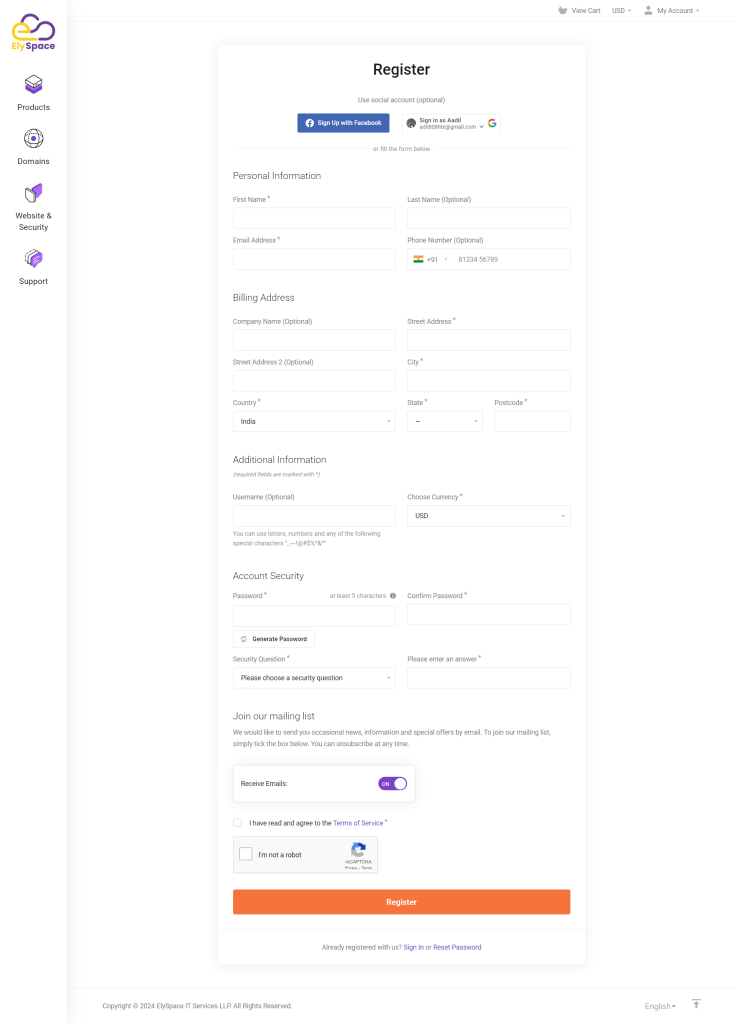
Once you have selected your desired plan, you will be taken to a registration page where you will need to provide some personal information such as your name, email address, and chosen password. It is important to use a valid email address as this will be used for all communication regarding your hosting account.

Next, you will need to enter your billing details and select a payment method. ElySpace accepts all major credit cards, PayPal, and even cryptocurrency payments for added convenience. Once you have completed this step, review the terms of service and click on the “Create Account” button.
Congratulations! Your ElySpace hosting account has been successfully created. You will receive an email with all the necessary login information for cPanel – the control panel where you can manage all aspects of your website.
Now it’s time to set up your domain name. If you already have a domain name registered with another provider, simply log into their admin panel and update the nameservers with those provided by ElySpace (ns1.elyspace.com & ns2.elyspace.com). This process may take anywhere from 24-48 hours for full propagation.
If you do not have a domain name yet or wish to register one through ElySpace, simply click on “Domains” in your cPanel dashboard and follow the prompts to purchase/register a new domain name.
With everything set up correctly, it’s now time to install WHMCS – the all-in-one billing and client management platform. ElySpace makes this step easy with a one-click installer for WHMCS available in your cPanel dashboard.
Setting up your ElySpace hosting account is a simple process that only takes a few minutes. With this crucial step completed, you can now move on to customizing and launching your IPTV website using the powerful combination of WHMCS and ElySpace hosting.
Step 2: Installing WHMCS on your hosting account
Now that you have signed up for a hosting account with ElySpace, it’s time to install WHMCS – the all-in-one billing and automation platform for your IPTV website. This step is crucial as it will allow you to manage your customers, invoices, payments, and other important aspects of your business seamlessly.
To begin with, log in to your cPanel account provided by ElySpace. Once logged in, navigate to the “Software” section and click on “Softaculous Apps Installer”. This user-friendly tool allows you to install various applications on your hosting account without any technical knowledge.
Next, click on the “WHMCS” icon under the “Top Scripts” category. This will take you to the installation page where you can customize certain settings before proceeding with the installation process.
Firstly, choose the domain where you want to install WHMCS from the drop-down menu under “Choose Domain”. If this is your first time installing WHMCS or if you want this installation to be accessible through a subdomain (e.g., billing.yourdomain.com), leave this field blank.
In case you already have an existing website or want WHMCS installed in a subdirectory (e.g., www.yourdomain.com/billing), enter the desired directory name in the “In Directory” field.
The next step is to create an admin username and password under the “Admin Account” section. These credentials will be used to access your WHMCS admin panel. Make sure they are strong and secure as they protect sensitive information related to your business.
You also have the option to enable automatic updates for future releases of WHMCS by checking the box next to “Auto Upgrade”. It’s recommended that you keep this option enabled for better security and functionality of your website.
Once done customizing these settings, click on the “Install” button at the bottom of the page to begin the installation process. It may take a few minutes for the installation to complete, after which you’ll be provided with a link to your WHMCS admin panel.
Congratulations! You have successfully installed WHMCS on your hosting account. Now, all you need to do is log in using your admin credentials and start setting up your IPTV website. In our next step, we will guide you through the initial setup and configuration of WHMCS to get your website up and running in no time. Stay tuned!
Step 3: Configuring your WHMCS settings for IPTV services
Once you have successfully installed and set up WHMCS on your ElySpace Hosting account, the next step is to configure the settings for IPTV services. This will ensure that everything runs smoothly and efficiently on your website, allowing you to provide a seamless experience for your customers.
- Login to your WHMCS admin panel
To start configuring your settings, log in to your WHMCS admin panel using the login credentials provided during the installation process. Once logged in, click on the “Setup” tab at the top of the page.
- Navigate to Products/Services
Under the “Setup” tab, you will find a drop-down menu with various options. Click on “Products/Services” and then select “Servers” from the sub-menu.
- Add a new server
In this section, you will need to add information about your IPTV server. Click on “Add New Server” and fill in all the necessary details such as server name, IP address, username and password.
- Configure product setup
After adding a new server, navigate back to “Products/Services” under Setup and select “Products/Services”. Here you can create a new product or edit an existing one by clicking on its name.
- Add product group
Create a separate product group specifically for IPTV services by clicking on “Create Group”. This makes it easier for customers to identify which products are related to IPTV services when browsing through your website.
- Configure pricing and billing cycles
Next, set up pricing options for your products by selecting different billing cycles (monthly, quarterly or annually) based on customer preferences and profitability goals. You also have the option of setting up promotional prices or discounts for specific periods of time.
- Enable provisioning module
WHMCS offers various provisioning modules that allow automatic service activation for customers. To enable this, go to “Setup” and select “Provisioning Modules”. Click on the IPTV module and then click on “Activate” to enable it.
- Configure support departments
As with any business, providing excellent customer support is crucial. Create dedicated support departments for your IPTV services by going to “Setup” and selecting “Support Departments”. This will ensure that customers can easily reach out to you for assistance when needed.
- Test your website
Before making your website live, it is essential to test all the settings and features thoroughly. Make a few test purchases, check if automatic service activation works, and ensure that the billing process runs smoothly.
By following these steps, you can configure your WHMCS settings effectively for IPTV services and provide a seamless experience for your customers on your website.
Step 4: Creating IPTV packages and products in WHMCS
Step 4: Creating IPTV Packages and Products in WHMCS
Once you have set up your ElySpace Hosting account and integrated it with WHMCS, the next step is to create IPTV packages and products that you can offer to your customers. These packages will determine the pricing, features, and content options available for your clients.
Here’s a step-by-step guide on how to create IPTV packages in WHMCS:
- Log in to your WHMCS admin panel and navigate to “Setup” > “Products/Services” > “Products/Services”.
- Click on the “Create a New Product” button.
- In the product type drop-down menu, select “Other” and then choose “IPTV Package”.
- Fill in all the required details such as product name, description, pricing options, billing cycles, etc.
- Under “Module Settings”, select ElySpace as the module name.
- Choose whether you want this package to be a standalone service or an add-on service.
- Set up any custom fields or additional options for your package if needed.
- Click on “Save Changes” to save your new IPTV package.
- Repeat these steps for each package you want to offer – for example, you might have different packages that vary in terms of channels offered or subscription length.
10 . Once all of your packages are created, go back to “Setup” > “Products/Services” > ”Configurable Options”.
11 . Click on the “Create a New Group” button and give it a name like “IPTV Channels”.
12 . Under this group , click on the “Add New Configurable Option” button .
13 . Give this option a name – something like “Channel Selection” would work well .
14 . Select type as radio buttons (or dropdown if there are many channel options) .
15 . Under “Option Values” , click on “Add New Configurable Option Value” and add all the channels that are included in your IPTV packages. You can set different pricing for each channel if needed.
16 . Save your changes and repeat these steps for any other configurable options you would like to offer, such as DVR or HD options.
17 . Now that all of your packages and configurable options are set up, go back to “Products/Services” > “Products/Services” and click on the product you created earlier.
18 . Click on the “Pricing” tab and select the appropriate price for each billing cycle under each package.
19 . Once finished, click on “Save Changes”.
Congratulations, you have successfully created IPTV packages and products in WHMCS! Your customers can now choose from a variety of packages with different features and channels. This will give them more flexibility in choosing a plan that suits their needs, ultimately increasing customer satisfaction and retention.
Step 5: Integrating payment gateways for customer subscriptions
Step 5: Integrating Payment Gateways for Customer Subscriptions
One of the key components of an IPTV website is the ability to offer subscription plans for customers. To successfully do so, you need to integrate payment gateways into your WHMCS and ElySpace Hosting platform. This will allow your customers to easily make payments and manage their subscriptions on your website.
Here are the steps you need to follow to integrate payment gateways for customer subscriptions:
- Choose a Payment Gateway Provider: The first step is to select a reliable payment gateway provider that supports both WHMCS and ElySpace Hosting. Some popular options include PayPal, Stripe, Authorize.Net, and 2Checkout.
- Set Up Your Payment Gateway Account: Once you have chosen a provider, you will need to create an account with them and set up your payment gateway settings. This may involve providing some basic information about your business and verifying your identity.
- Install the Payment Gateway Module: Most payment gateway providers offer a specific module for WHMCS that allows easy integration with their services. You can find these modules in the WHMCS Marketplace or by contacting your chosen provider directly.
- Configure the Module Settings: After installing the module, you will need to configure its settings within WHMCS. This involves entering your merchant ID, secret key, API credentials, and other relevant information provided by your payment gateway provider.
- Test Your Integration: Before making your payment gateway live on your website, it’s important to test it out first using sandbox mode or test transactions provided by your selected provider. This will ensure that everything is working correctly before going live with real transactions from customers.
- Make Your Payment Gateway Live: Once you have successfully tested the integration of your payment gateway module, it’s time to make it live on your website so that customers can start subscribing and making payments through it.
- Monitor and Manage Transactions: It’s important to regularly monitor and manage the transactions made through your payment gateway. This will allow you to keep track of payments, identify any issues, and provide prompt customer support if needed.
By following these steps, you can easily integrate payment gateways for customer subscriptions on your IPTV website using WHMCS and ElySpace Hosting. This will not only provide a seamless experience for your customers but also ensure secure and efficient transactions for your business.